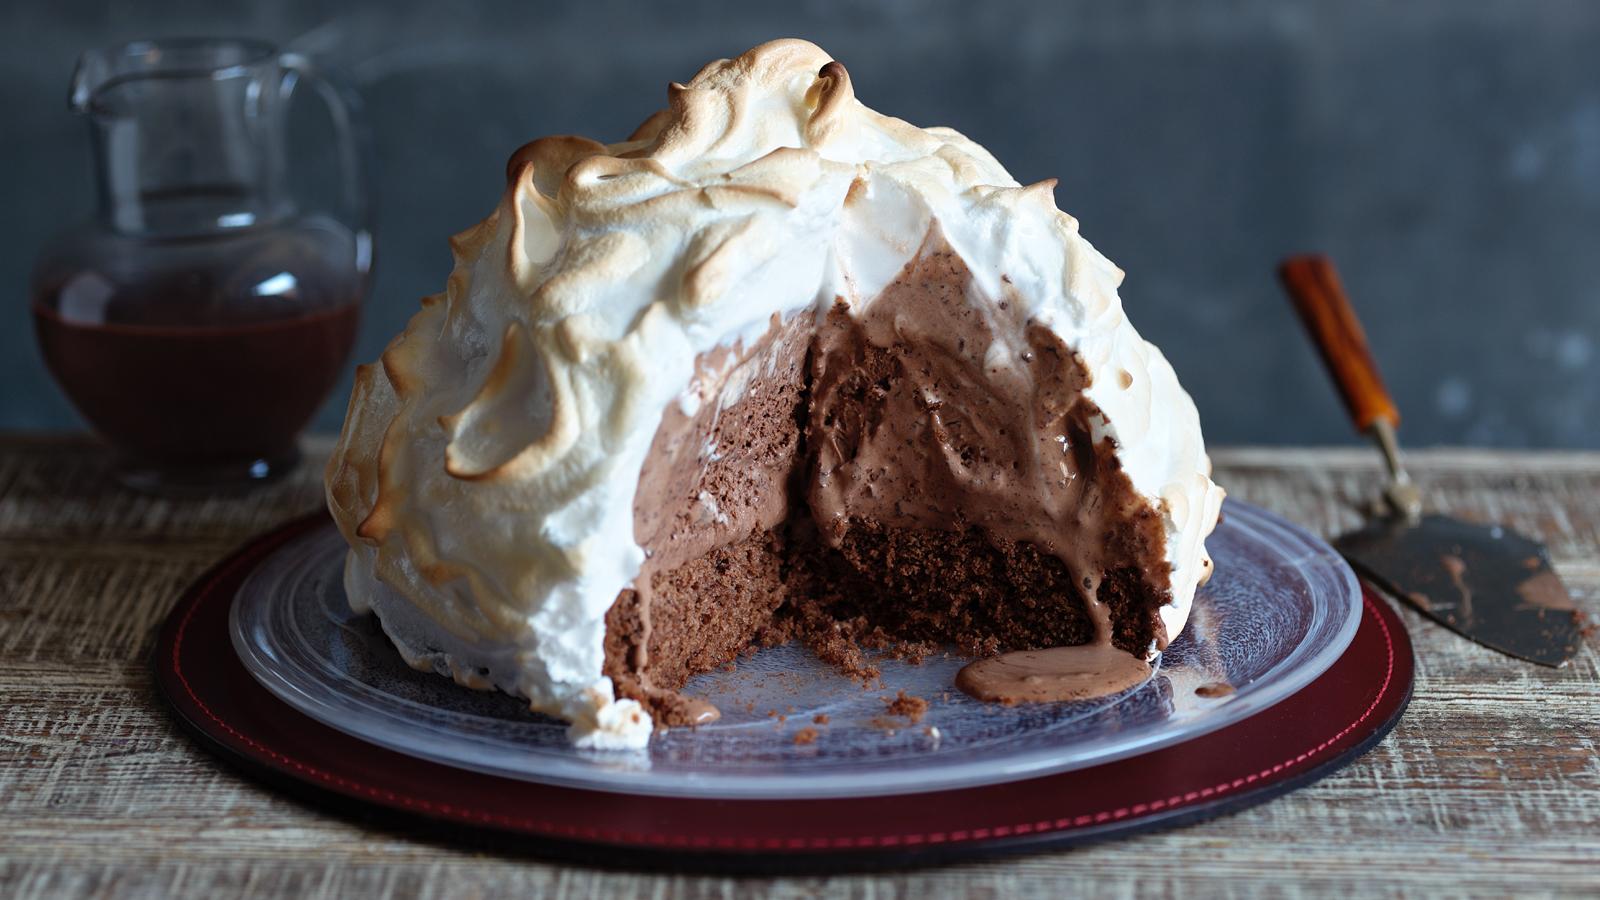
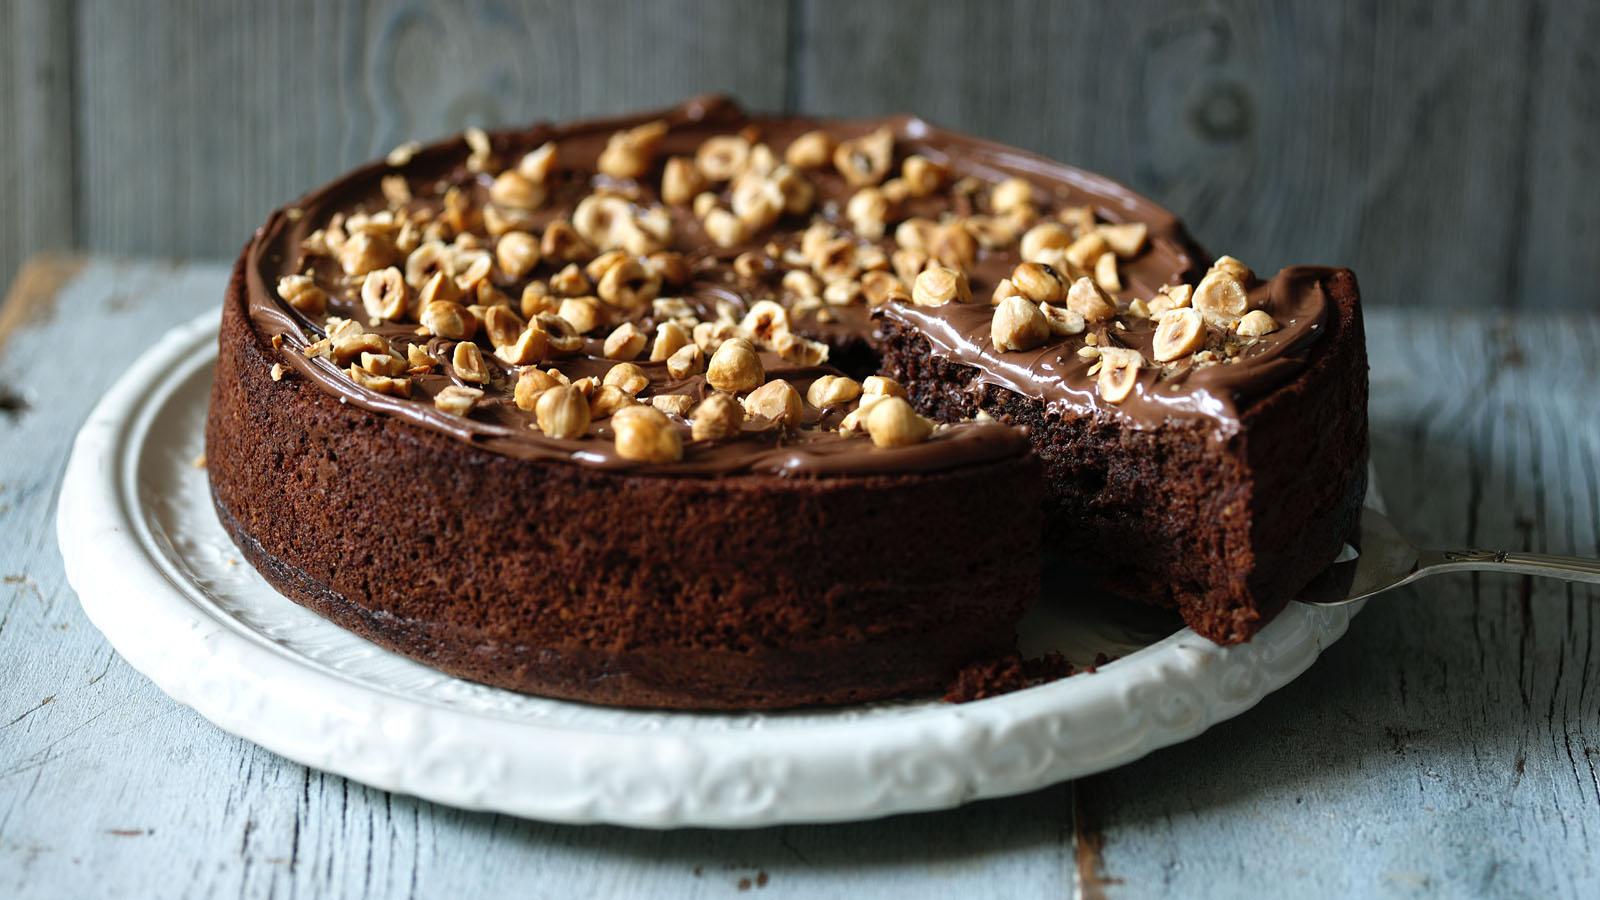
Chocolate hazelnut bombe Alaska
- Prepare
- overnight
- Cook
- 1 to 2 hours
- Serve
- Serves 12–16
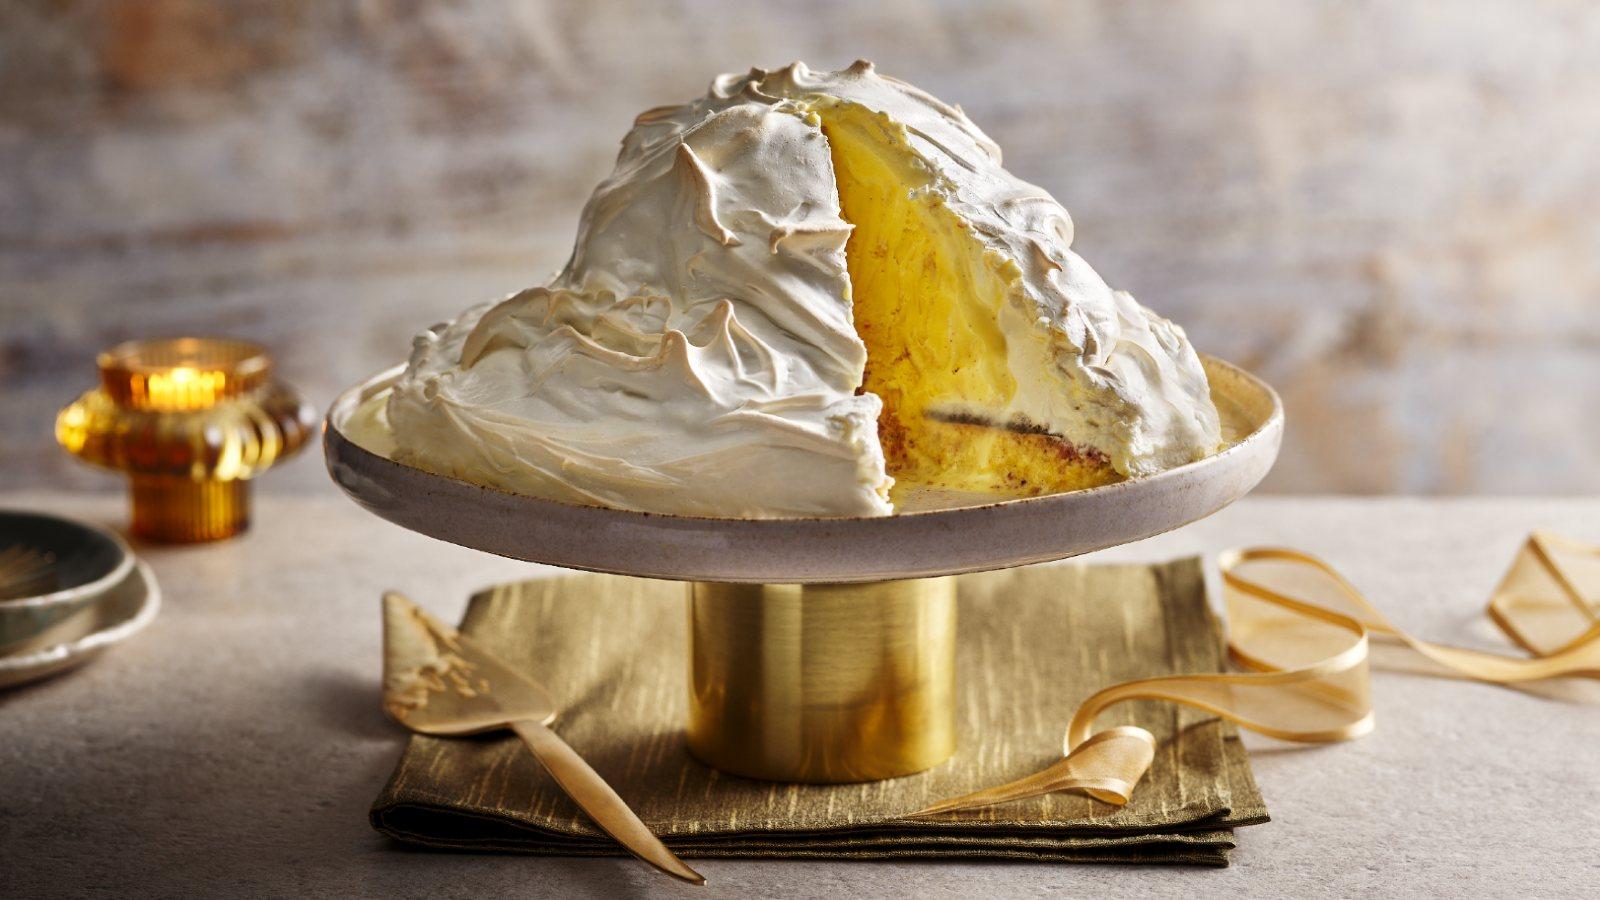
This beautiful showstopper of a dessert takes some time to create, but can be made well ahead of a dinner party and will be sure to wow your guests!
You will need a jam thermometer and a blow torch for this recipe.
Ingredients
For the no-churn ice cream
- 400g tin condensed milk
- 120g/4½oz chocolate hazelnut spread
- 30g/1oz unsweetened cocoa powder
- 1 tsp vanilla extract
- pinch fine sea salt
- 500ml/18fl oz double cream
For the chocolate cake base
- 250g/9oz caster sugar
- 120g/4½oz dark chocolate (about 70% cocoa), roughly chopped
- 100g/3½oz unsalted butter, cut into a few pieces
- 200ml/7fl oz recently boiled water
- 230g/8oz plain flour
- 10g/1/3oz unsweetened cocoa powder
- ¾ tsp bicarbonate of soda
- ¼ tsp fine sea salt
- 100g/3½oz plain unsweetened kefir drink (or buttermilk)
- 1 free-range egg, plus 1 free-range egg yolk
- 1 tsp vanilla extract
For the meringue
- 210g/7½oz caster sugar
- 140g/5oz free-range egg whites (from about 4 large eggs)
- 1 tsp lemon juice or ½ tsp cream of tartar
- pinch fine sea salt
For the chocolate sauce
- 40g/1½oz caster sugar
- 25g/1oz unsweetened cocoa powder
- pinch flaky sea salt
- 80g/3oz dark chocolate (about 70% cocoa), finely chopped
- 1 tsp vanilla extract
- 200ml/7fl oz double cream
- 2 tbsp recently boiled water
- 120g/4½oz roasted hazelnuts, roughly chopped (optional), to serve
Method
To make the no-churn ice cream, line a 1 litre/1¾ pints pudding-shaped bowl with cling film, making sure there’s a generous overhang all around.
Place the condensed milk, chocolate hazelnut spread, cocoa powder, vanilla and salt in a large mixing bowl and use a hand whisk to mix together until fully combined.
Add the cream to the bowl of an electric mixer fitted with the whisk attachment and beat on medium-high speed until soft waves form. Add one-third of the whipped cream to the hazelnut mixture at a time, folding gently but thoroughly. The cream should remain airy and there should not be any visible white streaks.
Pour the mixture into the prepared bowl, smooth the top so it’s even, then fold over the cling film to cover. Place in the freezer until completely frozen, about 12 hours.
Once the ice cream has frozen, prepare the rest of the elements. To make the chocolate cake base, preheat the oven to 180C/160C Fan/Gas 4. Line the base and sides of a rectangular baking tin (approx. 20x30cm/8x12in) with baking paper.
Combine the sugar, chocolate and butter in a large saucepan, pour the hot water over, then place the pan over a low heat. Stir occasionally until melted and smooth, then remove from the heat.
Sift the flour, cocoa powder, bicarbonate of soda and salt directly into the mixture in the pan, then use a hand whisk to combine until smooth. Add the kefir, whole egg, egg yolk and vanilla and whisk until smooth.
Pour the batter into the prepared baking tin and bake for 20-25 minutes, until a skewer inserted into the centre of the cake comes out clean. Remove from the oven and place on a wire rack to cool.
Once the cake has cooled, you are ready to assemble the ice cream cake. Unmould the ice cream by wetting a clean tea towel under the hot tap, then wrapping it around the surface of the bowl. After about a minute, tug gently at the clingfilm to loosen the ice cream, then using the clingfilm, lift the ice cream out of the bowl and invert it onto the centre of the sponge – the flat side of the ice cream should now be sitting stably on the cake.
Leave the cling film on and with a sharp knife, cut the cake around the ice cream so that the now circular cake matches the circular base of the ice cream. Feel free to eat the offcuts of the cake, they’re delicious!
Transfer the ice cream cake to a serving plate (this is the plate on which you will both freeze and eventually serve the bombe to your guests) and place it in the freezer until you’re ready to cover it with meringue (you can do this anytime up to a week after freezing).
To make the meringue, start by making the syrup. Combine 150g/5½oz of the sugar with 60ml/2fl oz water in a small saucepan over a low heat and stir gently. When the sugar has dissolved, increase the heat to medium-high and bring the syrup to a boil. Do not stir the syrup once it starts to boil but swirl the pan gently from time to time. Boil the syrup for about 5 minutes until it reaches 121C.
While the syrup is cooking, place the egg whites in the bowl of an electric mixer fitted with the whisk attachment. The trick here is timing, the egg whites need to be whipped at the same time as the sugar syrup reaches the right temperature. Beat the egg whites on medium-low until soft peaks form.
When the syrup is nearly at 117C, gradually add in the remaining 60g/2¼oz sugar, then increase the speed of the mixer to medium-high and continue to whip the egg whites.
When the syrup reaches 121C, remove the pan from the heat and slowly pour the hot syrup into the beating egg whites in a thin and steady stream, avoiding pouring onto the whisk. When all the syrup has been added, increase the speed to high and continue whisking for about 5–8 minutes, until the meringue is thick, glossy and has cooled to room temperature.
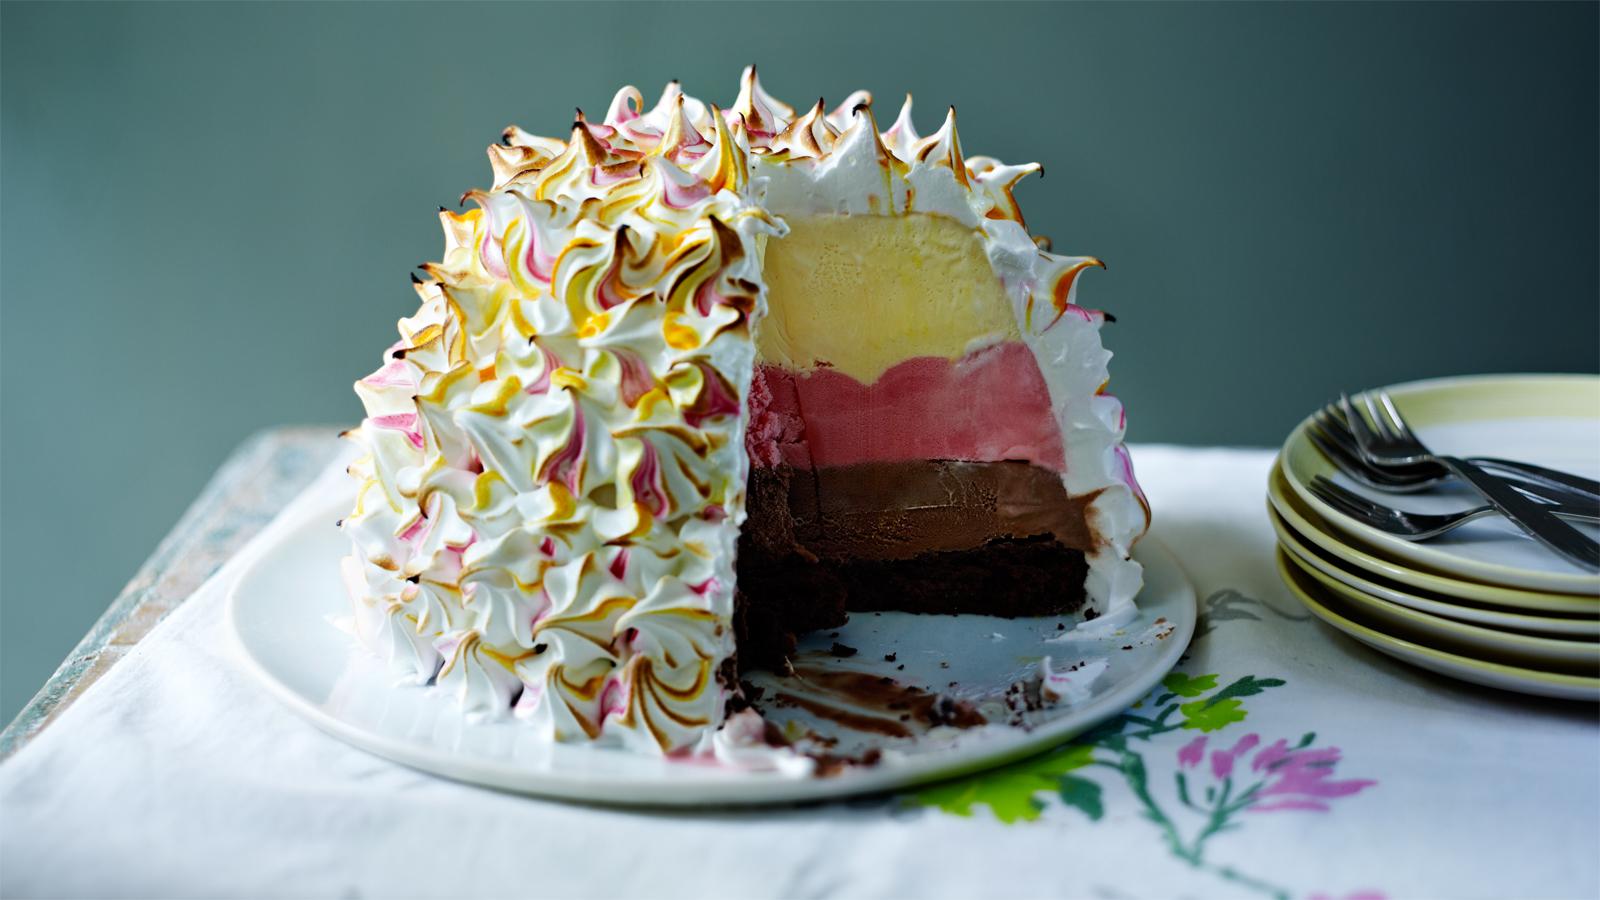
To assemble, if you want to pipe little kisses, spoon some of the meringue into a large piping bag fitted with a 1cm/½in nozzle and pipe kisses onto the ice cream cake, starting at the base. Spoon more of the meringue into the piping bag as needed, until the whole bombe is covered.
If you’re not piping the meringue, spread it thickly all over the ice-cream cake with a spatula, creating peaks and swirls as you go. When the ice cream is covered with meringue, return the bombe Alaska to the freezer, where it will keep until ready to serve (for up to 7 days).
When you’re almost ready to serve, make the chocolate sauce. Place the sugar, cocoa powder, salt, chocolate and vanilla in a heatproof bowl.
Put the cream in a small saucepan and place over a medium-low heat. When it comes to a simmer, remove from the heat and pour it over the chocolate mix. Add the hot water and allow to sit for 30 seconds, then whisk to a smooth sauce and transfer to a pouring jug.
Remove the bombe Alaska from the freezer and use a blowtorch to gently caramelise the meringue until golden brown.
Cut the bombe into thin slices with a hot knife (dip the knife into a jug of hot water then wipe dry before cutting each slice), drizzle with chocolate sauce and scatter the roasted hazelnut on top, if using. Serve immediately.